
Installing a ceiling fan is a great way to improve air circulation and comfort in your home. Follow these simple steps to complete the job safely and efficiently.
- Turn Off Power: Before starting, switch off the power at the circuit breaker to avoid electric shock.
- Prepare Tools: Gather a screwdriver, pliers, voltage tester, ladder, wire connectors, and your new ceiling fan kit.
- Remove Existing Fixture: Take down the old light fixture or fan, carefully disconnecting the wires.
- Check the Ceiling Box: Ensure the electrical box is fan-rated and securely attached to a ceiling joist. Replace it if necessary.
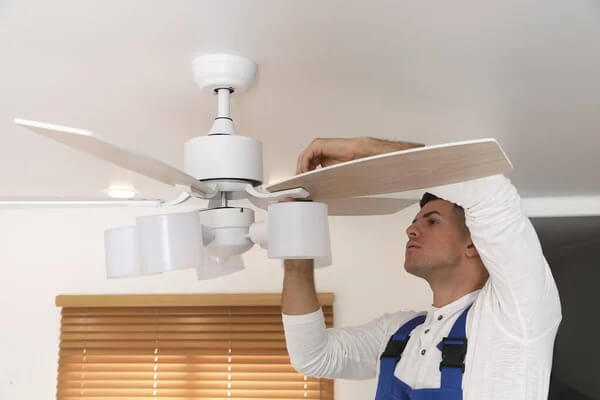
- Assemble the Fan: Follow the manufacturer’s instructions to assemble the blades and motor housing.
- Mount the Bracket: Attach the mounting bracket to the ceiling box using the provided screws and ensure it’s tight.
- Wire Connections: Connect the black (live), white (neutral), and green or copper (ground) wires correctly using wire connectors.
- Attach the Fan Motor: Lift and hook the fan motor onto the bracket, then secure it with screws.
- Install Fan Blades and Light Kit: Attach each blade and light fixture carefully.
- Restore Power & Test: Turn the circuit back on, test the fan speed, and light operation.
Enjoy your new ceiling fan — installed safely and professionally!